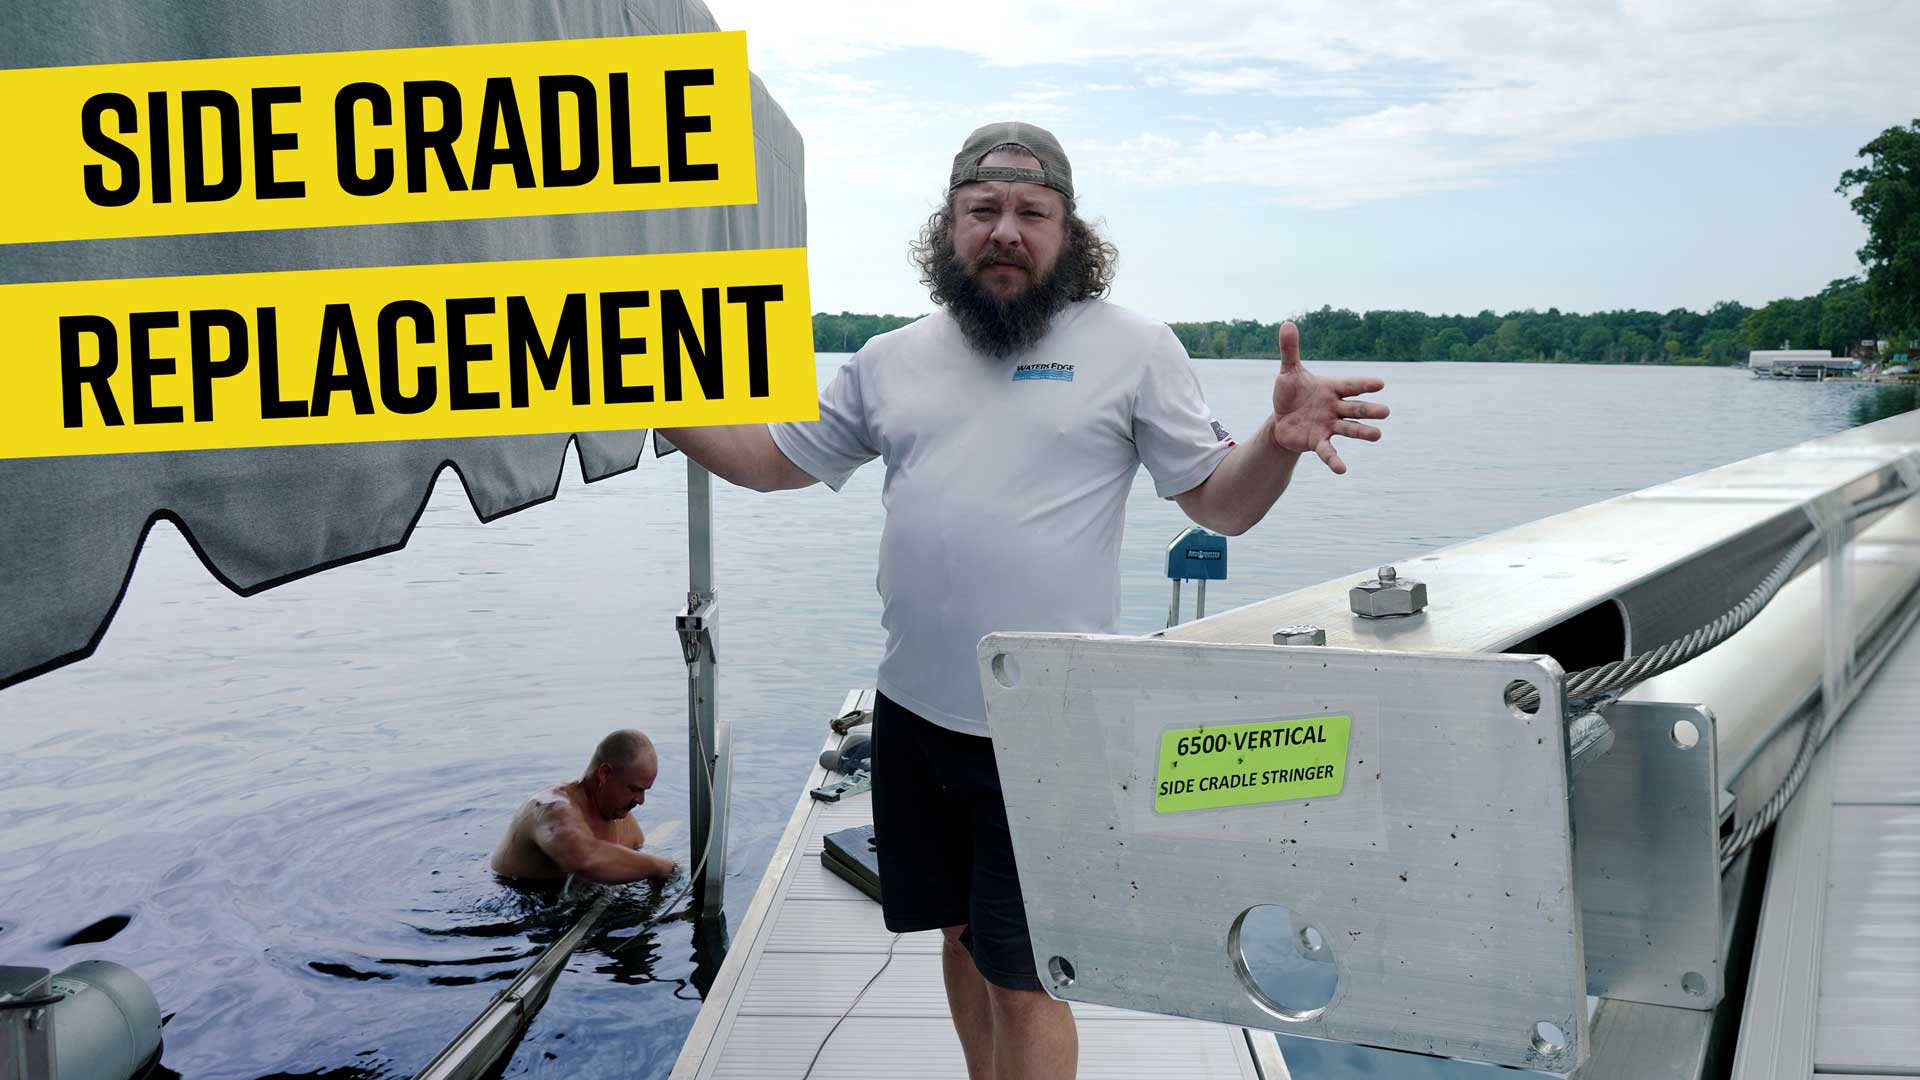
Boat Lift Repair on Fonda Lake: Replacing the Side Cradles
Hey there, it’s The Dockman checking in from a service call on Fonda Lake in Brighton, Michigan. I thought I’d take you along for the ride as we tackle a couple of issues with this boat lift that got tweaked after lifting a wakeboarding boat with a full ballast. Both side cradles are bent, and the winch cable ended up rubbing against the frame, causing some damage. Time to get this lift back in working order!
Assessing the Damage
The first problem we’re dealing with is the bent side cradles. They couldn’t handle the weight when the boat was lifted with the ballast full, so we’ll need to remove and replace them. On top of that, the winch cable has taken some damage—it’s still holding up, but with a few broken strands, it’s not something we want to leave to chance. So, we’re going to replace the winch cable as well.
Getting Started: Lifting the Cradle
We’ve got Nate down in the water helping out, and the first step is to get the cradle lifted and suspended so we can safely remove the damaged side frames. To do this, we’re using ratchet straps to lift the cradle and hold it in place while we work. Once we’ve got the cradle hanging, we can start unbolting the bent frames.
Removing the Side Frames
The two side cradles are what took the brunt of the damage when the ballast was full. Instead of pulling the entire cradle off, we’re going to finesse this repair by unbolting each corner and sliding the new frames in. It’s a bit of a trick to avoid removing the whole cradle, but we’ve got it figured out.
The winch cable also got a bit of wear where it was rubbing against the frame when everything got misaligned. You can see how the cable was marred and the pulley was nearly pulled through. It’s remarkable that the lift held up as well as it did, but we’ll need to replace the cable to give the customer peace of mind for the rest of the summer.
Swapping the Side Cradles
With the cradle suspended, we remove the bolts holding the damaged side frames and carefully slide them out. The new side cradles go on in their place. Since the lift has been out of alignment from the weight, it takes a little prying and adjusting to get everything to fit correctly. Once we’ve got the new side cradles in place and bolted down, things start to square up nicely.
Replacing the Winch Cable
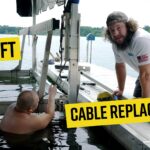
Now that the side cradles are secured, it’s time to replace the winch cable. Nate dives down to undo the bottom cable connection—this is probably the trickiest part since it requires going underwater. Once the bottom connection is off, we replace the old winch cable with a new one, ensuring it’s secure and ready for action. We replaced the winch in a separate “how to” video, here.
Testing the Lift
With everything replaced, we run a test to make sure the lift operates smoothly. As we raise and lower the cradle, we check the pulleys to ensure everything is turning as it should. The side cradles are holding up perfectly, and the new winch cable is running smoothly without any rubbing or resistance. Looks like we’re good to go!
Final Thoughts
This job was a success! The boat lift is back in action with new side cradles and a fresh winch cable. The customer can rest easy knowing their lift is ready for the rest of the summer. If you’re ever in need of lift repairs, don’t hesitate to reach out! And be sure to check out my next video where I go into more detail on how to replace a winch cable.
Thanks for following along—until next time, this is The Dockman, signing off!
 Previous Post
 Next Post