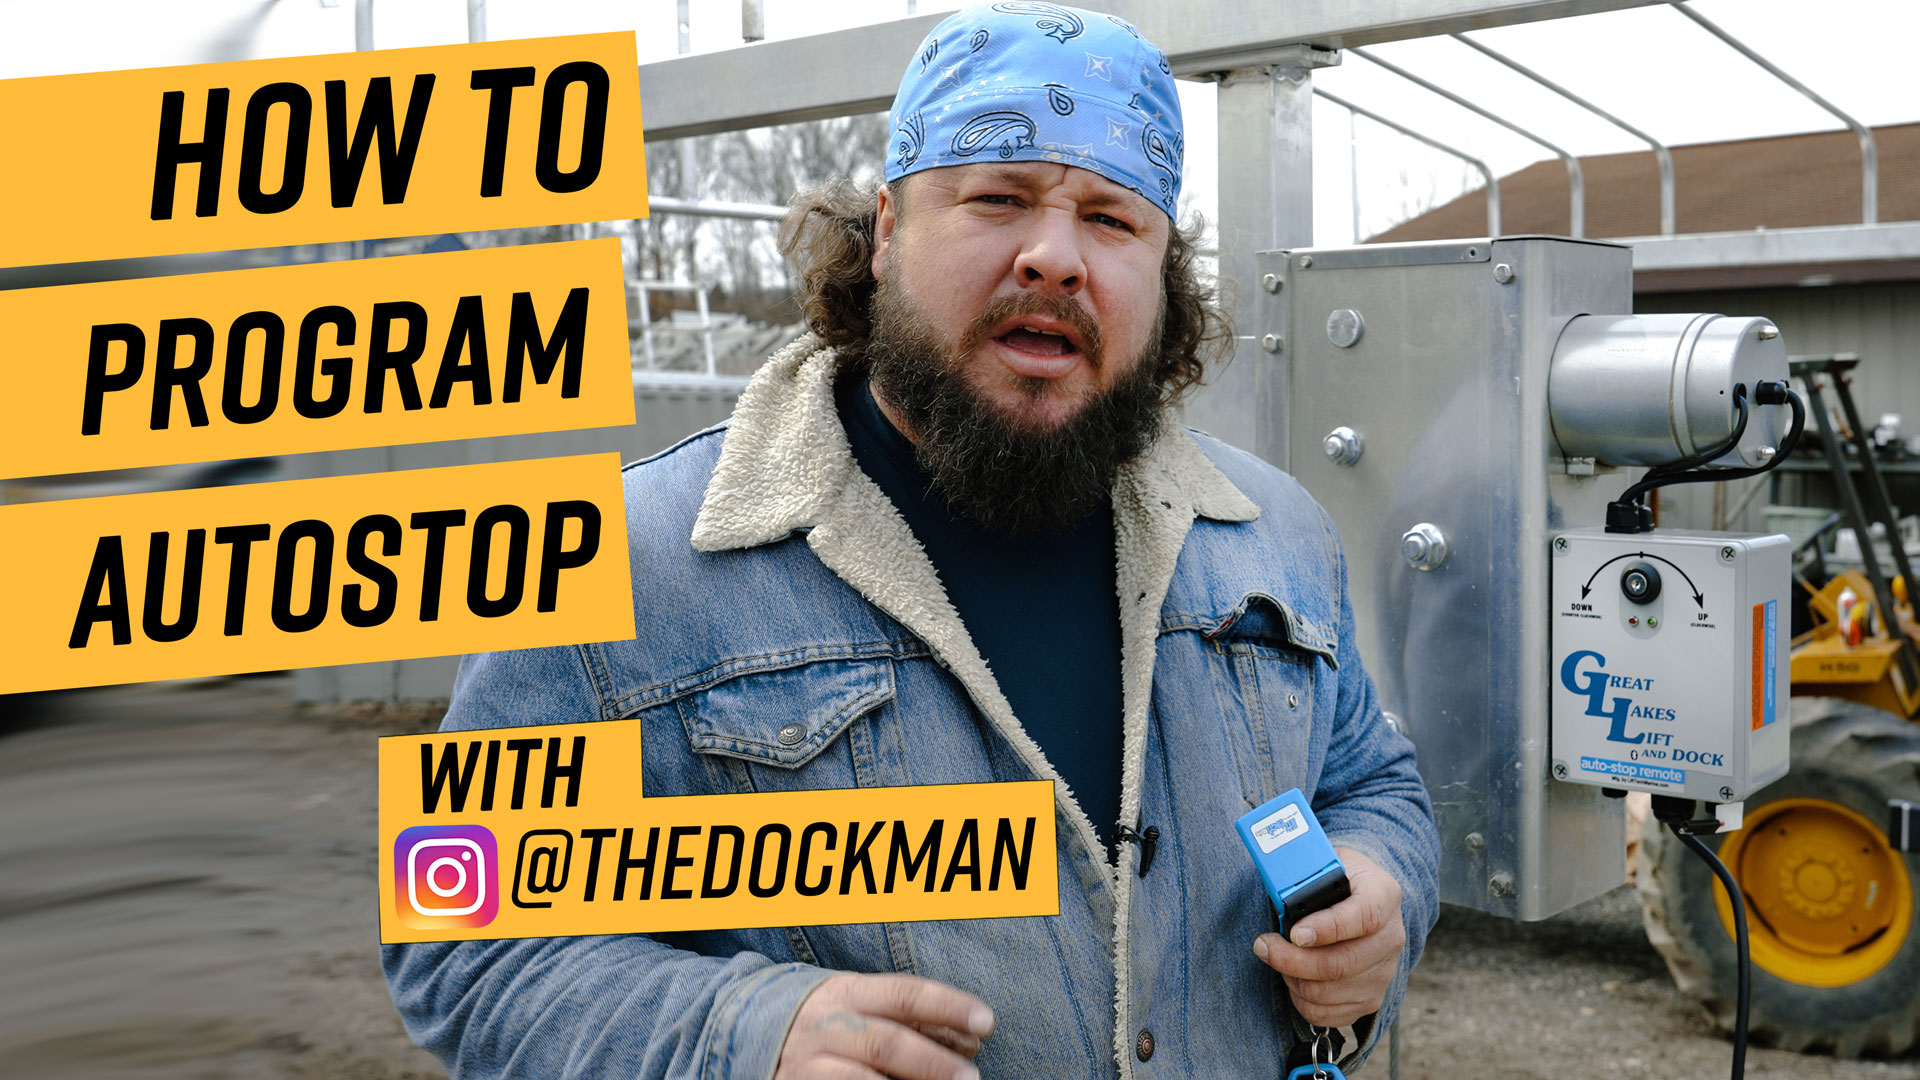
How to Program Auto-Stop on a Lift Tech Direct-Drive Boat Lift — Step-by-Step Guide
Why set Auto-Stop?
Lift Tech’s Auto-Stop prevents over-travel of your lift — stopping the motor automatically at user-set upper and lower positions so your boat won’t poke through a canopy or the winch won’t back-wind. It’s a one-time setup that protects the lift and your boat and makes operation worry-free for family or guests. Below is a step by step guide, provided by The Dockman to help you program autostop into your boat lift.
Quick Checklist
- Prep: secure the boat, have remote in hand, wear safety gear.
- Enter programming mode — remote shows a fast-flashing green LED when ready.
- Move cradle to lower position (cable slack/lowest safe point), press LOCK to store.
- Move cradle to upper position (boat in lift, not touching canopy), press LOCK to store.
- Confirm LED shows both limits set (solid green) and test by holding UP and DOWN — motor should stop automatically.
- To clear limits: press LOCK, LOCK, LIGHT within 5 seconds to reset.
Full step-by-step guide
What you’ll need
- Lift Tech direct-drive motor with Auto-Stop (remote or control panel)
- Remote/pendant with UP, DOWN, LOCK, LIGHT buttons
- A spotter (recommended)
- Gloves and eye protection (recommended)
- Your boat secured in the lift for setting the top limit
1) Safety first
- Keep hands and clothing away from moving parts.
- Remove passengers and gear that could shift while the lift moves.
- Make sure the lift is on stable, level ground and the boat is secure.
2) Power up & check LED state
Power the lift and hold the remote near the winch box. Observe the green LED on the control or winch box:
- No positions set: green LED blinks fast.
- One position set: green LED blinks slower.
- Both positions set: green LED shows solid green.
3) Set the lower (down) limit
- Press and hold DOWN on the remote to lower the cradle slowly.
- Lower it until the cable shows a slight slack or the cradle reaches the lowest safe point you want.
- Press LOCK once to record the lower limit. The LED should switch to a slower flash.
4) Set the upper (up) limit
- Press and hold UP on the remote until the cradle reaches the upper limit you want. Best practice: have the boat in the cradle and stop when the boat is near but not touching the canopy.
- Press LOCK once to record that upper position. The green LED should now show solid, meaning both positions are stored.
5) Test the limits
- With the remote, hold DOWN continuously — the motor should automatically stop at the stored lower limit.
- Repeat by holding UP — it should stop at the upper limit.
6) Reset / Clear stored limits (if you need to start over)
To clear position limits and start fresh, use the remote sequence: LOCK, LOCK, LIGHT — pressed in sequence within about 5 seconds. After clearing, the green LED will return to the “no limits set” pattern and you can re-program.
Troubleshooting & tips
- LED never changes / limits not saving: make sure you pressed LOCK at the correct position and that the remote batteries are good.
- Motor runs opposite direction: check the gear head rotation setting; contact your installer if needed.
- Unit won’t accept limits after manual movement: clear limits and re-program.
- Set the upper limit with the boat on the lift — that’s the best real-world reference for clearance.
Pro installer tip
A good method for setting the lower position is to watch for a quick visual cue — when the cable goes slack — then press LOCK. For the upper position, always set it with the boat in place to ensure safe clearance under the canopy.
 Previous Post
 Next Post